
Our basement is straight out of the 1990’s! I don’t think it had ever been updated, so that is our current home makeover project.
Since it’s the basement, we figured we could try something a little different for the flooring instead of carpet or vinyl flooring.
We painted the concrete floors in our basement!
So today, I’m sharing exactly how to paint your concrete floors and sharing all the tips I learned throughout the process.
Here’s a quick look at what our basement floor looked like when we started. It had really old and nasty carpet which is where I started the whole process.
Painting Concrete Flooring
1. Rip out old flooring.
Our basement still had the original carpet and was pretty simple to rip out with an Exacto knife and a little muscle. 🙂 We also had some vinyl flooring that we ripped out.

2. Remove any adhesive that is left on the floor.
A paint scraper was great for getting big pieces of carpet padding that were left on the floor.
I dampened the adhesive that was still stuck to the floor by spraying water from a spray bottle. That way it was easier to peel off the floor.
This was definelty the most tedious part of the whole project! But totally worth it.

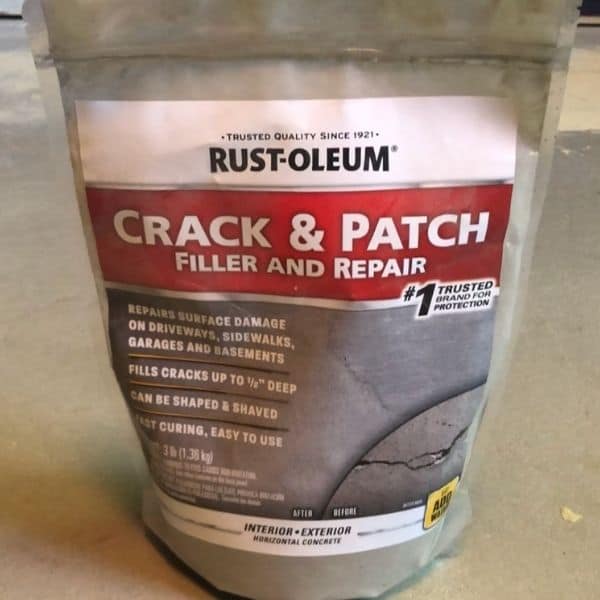
3. Fill in cracks and holes.
We had several long cracks throughout our floor. There were also some holes from nails that we had to remove.
I used this crack and patch filler and repair from Walmart. This product dried out on me really fast and was super messy!
I recommend using something that is already mixed like this ready mix concrete (affiliate link).
Here are the steps to filling in cracks in your concrete floor:
- Add cement filler to cracks and holes.
2. Scrape extra cement filler to level off.
3. Using sandpaper, sand cracks and holes once the filler is dried.
4. Repeat this process until the floor is smooth .

4. Prepare the concrete floors for painting.
The last step before painting is to clean and etch the floor. You can do this all at the same time with this product: Rustoleum Clean and Etch (affiliate link).
I purchased mine from Walmart, but I’ve also seen it at hardware stores.
Of course you want a completely clean surface to paint. I swept a few times and used my dry microfiber mop a few times as well to pick up any dust, hair or dirt.
But you’ll also want to etch your concrete floors so that the floors are not super smooth. They need a little texture in order for the paint to adhere to the cement.

Don’t forget your safety gear! I wore safety glasses, gloves, and closed toed shoes.

Here is the process to clean and etch concrete floors:
- Wet a section of floor. I poured a little water from a bucket onto the floor and then spread it out into a 10×10 foot section with my mop. You don’t want any standing water left. The floor should be wet but not a puddle.
2. Add etching product to a watering can and pour onto wet floor.
3. Scrub the etching product all over the floor with a scrub brush.
4. Rinse the floor with water and mop.
5. Once you have used the etching product all over the floor, you’ll need to rinse the entire floor with water and the scrub brush THREE times! This ensures that the product is no longer left on the floor.
And now you are ready to FINALLY paint! YAY!


5. Paint your concrete floor.
You’ll want to purchase paint that is specifically used on concrete. I went with Glidden Porch and Floor Paint in light grey.
You can get grab-n-go paint or choose any color available and have it mixed up for you.

Painting your floor is actually pretty simple. It’s much easier than painting walls in my opinion. First, cut in the edges of the room with a paintbrush.
Then use a roller with a pole attachment to paint the rest of the floor. You’ll want to start in the farthest corner from the door and work your way backwards.

At first, I poured the paint on the basement floor and then rolled it. However, It felt like I was going through the paint really fast. So I poured the paint into a paint pan for the rest of the floor.
My basement floor needed a second coat which I applied after 24 hours.

Our basement floor is not perfect. You can still see some blemishes here and there. But it is SO much better than it was before!
I love how it turned out and can’t wait to finish up decorating this basement now that the floors are done!

All Supplies Used:
Pin it for later!

Check out these other DIY home updates:
I Updated Oak Cabinets with Briwax in my 1990’s kitchen.
Instead of spending a lot of money on a kitchen backsplash, I made a Faux Subway Tile Backsplash for $13.
Instead of buying new decor when I want to update my home, I Decorate by Shopping the House.
4 thoughts on “How to Paint Concrete Flooring: 5 Step Guide”
Woohoo! Good job, Emily! That is a HUGE project and it looks great! Thanks for sharing all your tips too. I’m storing them away for when we work on our basement!
Thank you, Kristen! It definitely took longer than I thought it would. Ha! Good luck on your basement too!
Hey Emily, your post is now 4 years old but here’s my question. We moved to a home with polished concrete floors. The home was already one year old before we moved in and some of the polish (from the previous owners) was already worn off. Do I need to remove the polish (shiny part) for paint to stick to it?
Hi Regina,
I would think that you would need to remove some of the polish. If you remove the chipped paint and use the clean and etch, that should help get your floor ready for the paint.